
Para-cord bracelets are a fun, easy to make, homemade gift that works for boys or girls of all ages. You've probably already seen these bracelets; they are popping up everywhere lately. So why not spend an afternoon making a bunch for all the kids (and maybe even some of the adults) on your shopping list.
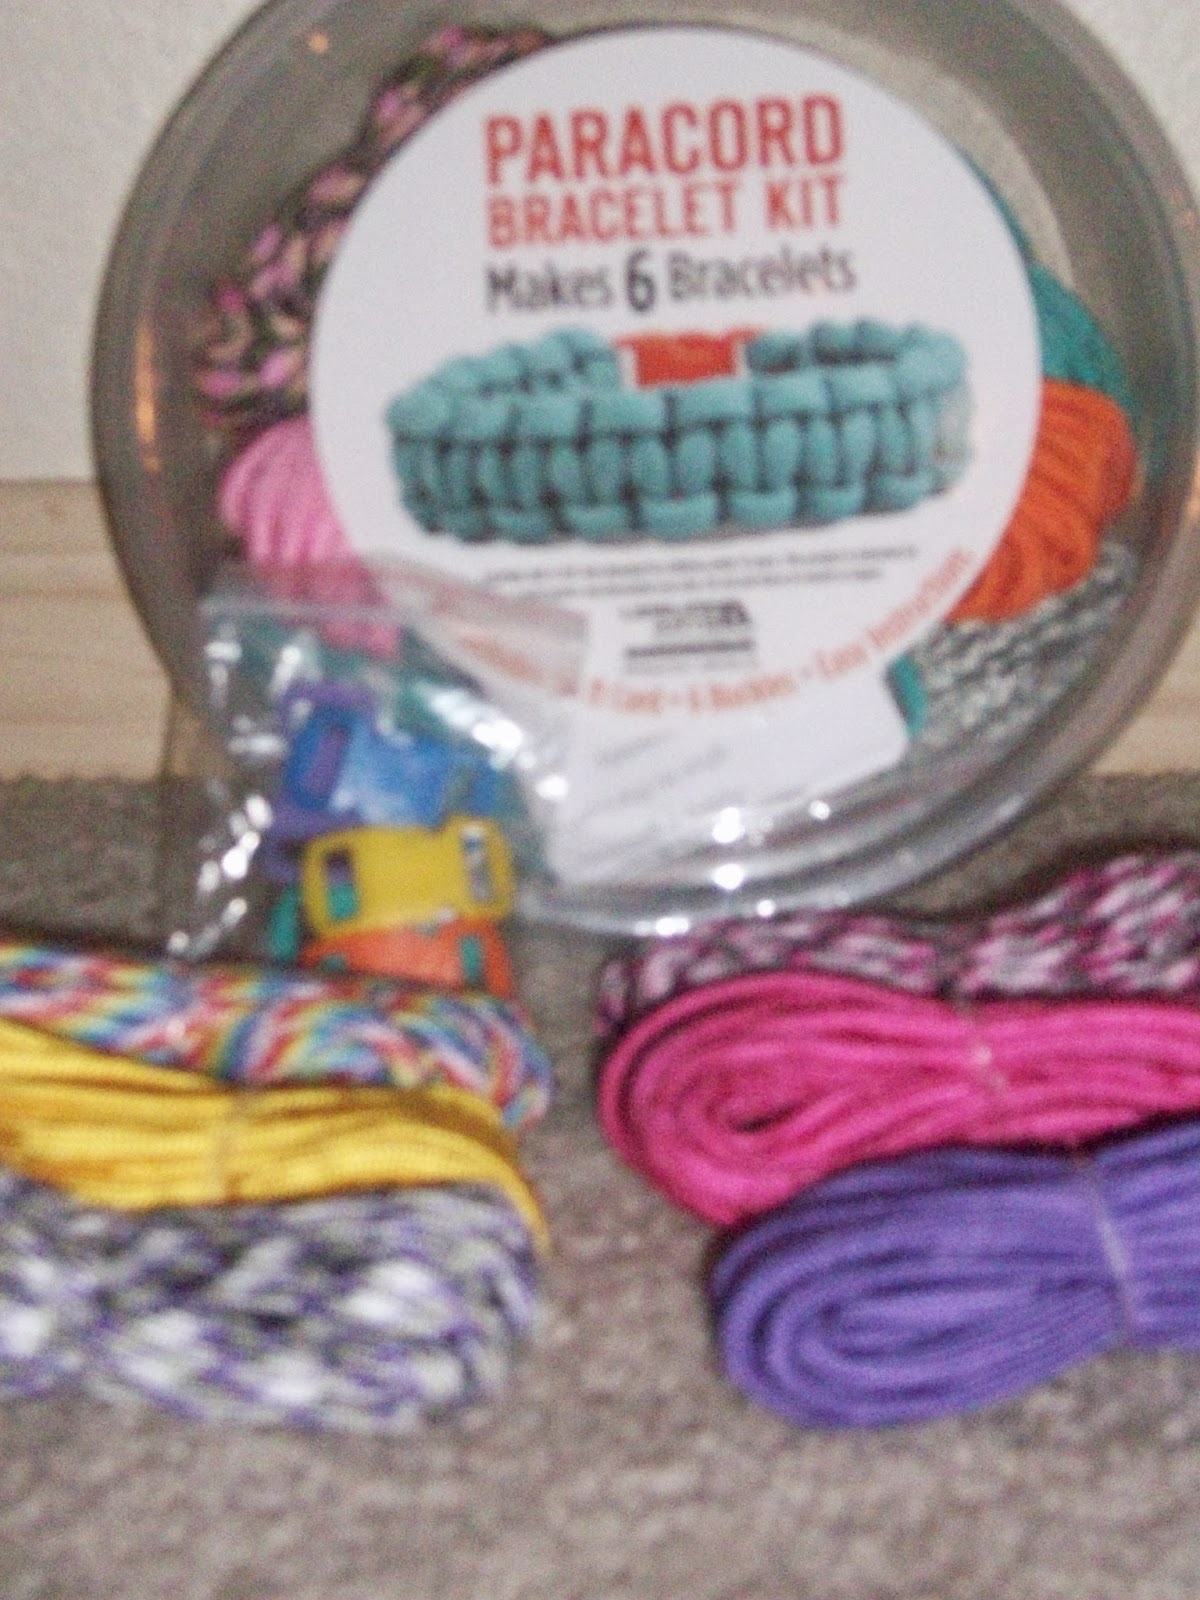
Here's what you need for one bracelet: 9 feet of para-cord and a buckle. Yeah, that's it. I just went to Walmart and bought up a bunch of packs of cord and buckles in different colors. They also sell these kits that have enough supplies for six bracelets and they cost less than buying the supplies separately.

The kits come with instructions, and you can find a number of tutorials on YouTube to show you how to do it. For the most part the only difference is how you start and finish the bracelet. The in between part is all the same. I practiced many different ways of setting it up until I felt confident doing it my own way. Once I was sure I understood what I was doing, I began experimenting with new patters and combinations. In the end I found two main ways of making them that I really enjoy.
Solid String Bracelet.
The thing I love about this style is that it uses the longest possible piece of string and keeps it as one whole piece. If you view your bracelet as the high powered life saving device it was designed to be, this is the only method to use. Let's say you are in the woods, and your friend falls off a cliff. He is barely hanging on by a small tree root jutting out of the side of the mountain. You want to help him, but you can't reach him. You have a rope back at camp, but you are afraid to leave him in case he loses hope and lets go. What can you do? Para-cord bracelet to the rescue! You take off your bracelet and start unwinding the cord, so you can throw it to your friend. That's when you realize the idiot who made your bracelet used a braiding method that used only cut pieces of rope. Your longest piece of chord is just over three feet long. Not nearly long enough to reach your friend. While you are hurriedly tying these small pieces of cord together, your friend loses his grip and falls to his death. Sadly this type of tragedy could have been avoided if you were wearing a para-cord bracelet woven with the single string method. If this doesn't motivate you to use this method, I don't know what will.

So here's how it works. Take a nine foot long string and fold it in half. Slip the folded point through one of the buckles.

Then put the two ends of the cord through the loop you've just created and pull tight.

Now put the two loose ends through the other half of the buckle. Slide the buckles apart to the desired length of the bracelet.

Without messing up the length of the bracelet, tie the two lose ends of string (the really long pieces) around the other two cords that make up the main center of the bracelet.

The hard part is over. Now you're ready to start braiding. Take the higher string and slide it behind the two center ropes, leaving a small loop on the side.
 |
| see how the left side is higher here |

Your second (slightly lower) string comes down behind the first cord, up and over the center cords,
and down through the small loop.

Pull tight.
Now do it again on the other side. And again, and again, and again. Periodically push the bunches upward to make room for more knots.
Adjust the tightness of your knots so that the strings being knotted cover the full length of the two center string with only a few inches left over.
When you reach the bottom, tie the two loose ends in a simple knot at the base of the bracelet. Then snip the edges and burn them to keep them from unraveling. (Warning: Do not burn the bracelet ends while someone is wearing it. It hurts.) While the burnt ends are still hot, push them down (with something that isn't your finger) so that they lay flat against the bracelet and aren't too scratchy.
Voila!
Two Color Method
If you are making these bracelets purely for aesthetic reasons and not to save any one's life in the wilderness, you can use this fun method to add variety to your bracelets. Start by choosing two coordinating colors and cutting them to about 4 feet each. The size can vary depending on how long a bracelet you need to make and how much cord you have to work with.

Push one end of each cord through one end of the buckle. Pull both strings together so there is about 9 inches sticking out.

Take the long end of both strings and wrap them around the two 9 inch strings and tie them in a knot.

Then start braiding/knotting your rope just as you did for the other method.

Keep braiding until your bracelet is within an inch of your desired length.

Slip the ends of your center strings (the two original 9 inch strands) through the other side of the buckle, and lay them back down on top of the original strands.

Now keep braiding over top of the center strands (there are four now), to lock the ends in tight.

When you get to the end, tie your long strings in a knot and snip and burn just like you did with the other bracelet.

Ta da! So cute, right?!
For more styles and instructions just YouTube "para-cord bracelet" and there are a million tutorials with different patterns and styles. Enjoy!
Marcia


It goes without saying that a Paracord bracelet is one of the most important survival gears. There is so much you have mentioned about this useful gear that can be useful for a beginner hiker, camper, mountaineer, or hunter. I will share the post with my friends. Here is another article on Paracord bracelet that is worth sharing: http://survival-mastery.com/diy/useful-tools/paracord-bracelet-instructions.html
ReplyDelete